
By Alex Moore,

Looking for creative things to make for your kid’s bedroom? There are plenty of sewing projects for you to choose from and what’s great is that they are specifically addressed to children. These fun projects can be done in the comfort of your own home, and they’re a marvelous way to teach your children some good skills and how to enjoy themselves on a budget.
Sewing Tips and Projects
Many sewing projects can be a lot of fun, especially when there’s an opportunity to teach your little ones just how enjoyable this craft can be.
However, this requires a firm grasp of the sewing basics. If you need something to get a starter or perhaps a little something to help jog up your memory, you could always check out online resources for the best sewing tips for beginners.
The following are six handpicked projects that are great for beginners. Many of these don’t take much skill. They are also a lot of fun to make.
Your kids will also love getting involved in them. Follow along with the steps, as well as the full tutorials provided in the links. Also, don’t forget to check out the sewing tips as mentioned above.
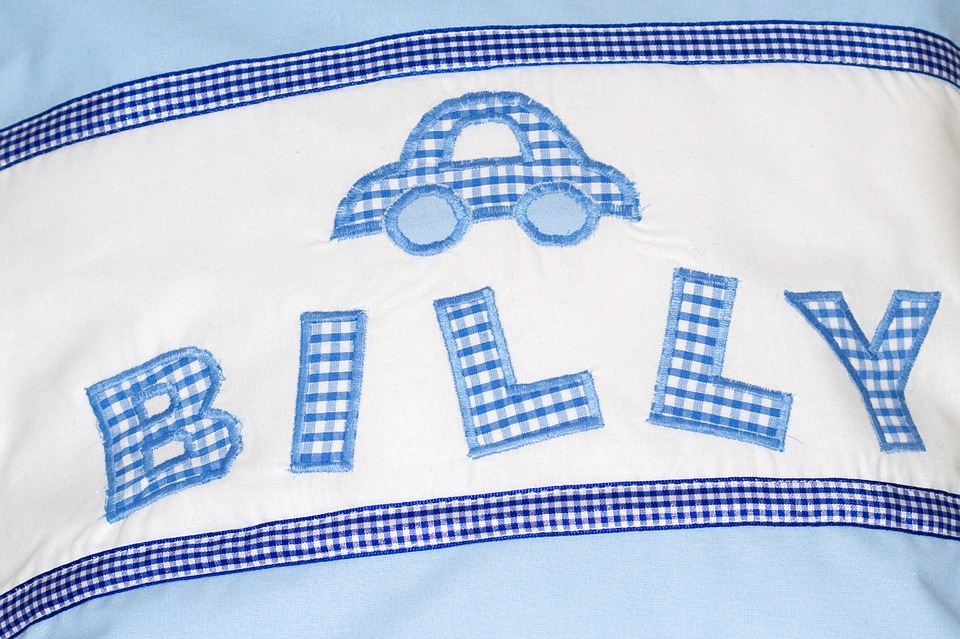
1. Fabric Letters

Fabric letters are perfect for the nursery and easy for kids to make. You will need some scrap fabric, batting, some paper, scissors, a sewing machine, a PC, and a printer. Here’s what you’ll need to do.
Step 1: Search online for some letter templates.
Step 2: Print them on a blank piece of paper.
Step 3: Using a pair of Fiskars scissors, carefully cut out each letter and set them aside.”
Step 4: Place a piece of batting on your work table and a piece of scrap fabric on top of it.
Step 5: Secure them in place using pins.
Step 6: With the same pair of scissors, cut out a square big enough for your letter. Don’t forget to leave a 1 ½ cm edge on each side of the square.
Step 7: Place your letter of choice on top of the fabric.
Step 8: Using a pencil, draw the letter’s outline on the fabric.
Step 9: With a sewing machine, carefully sew along the letter’s outline.
Step 10: Use the scissors again to cut the letter.
2. Tooth Fairy Pouch Pillows
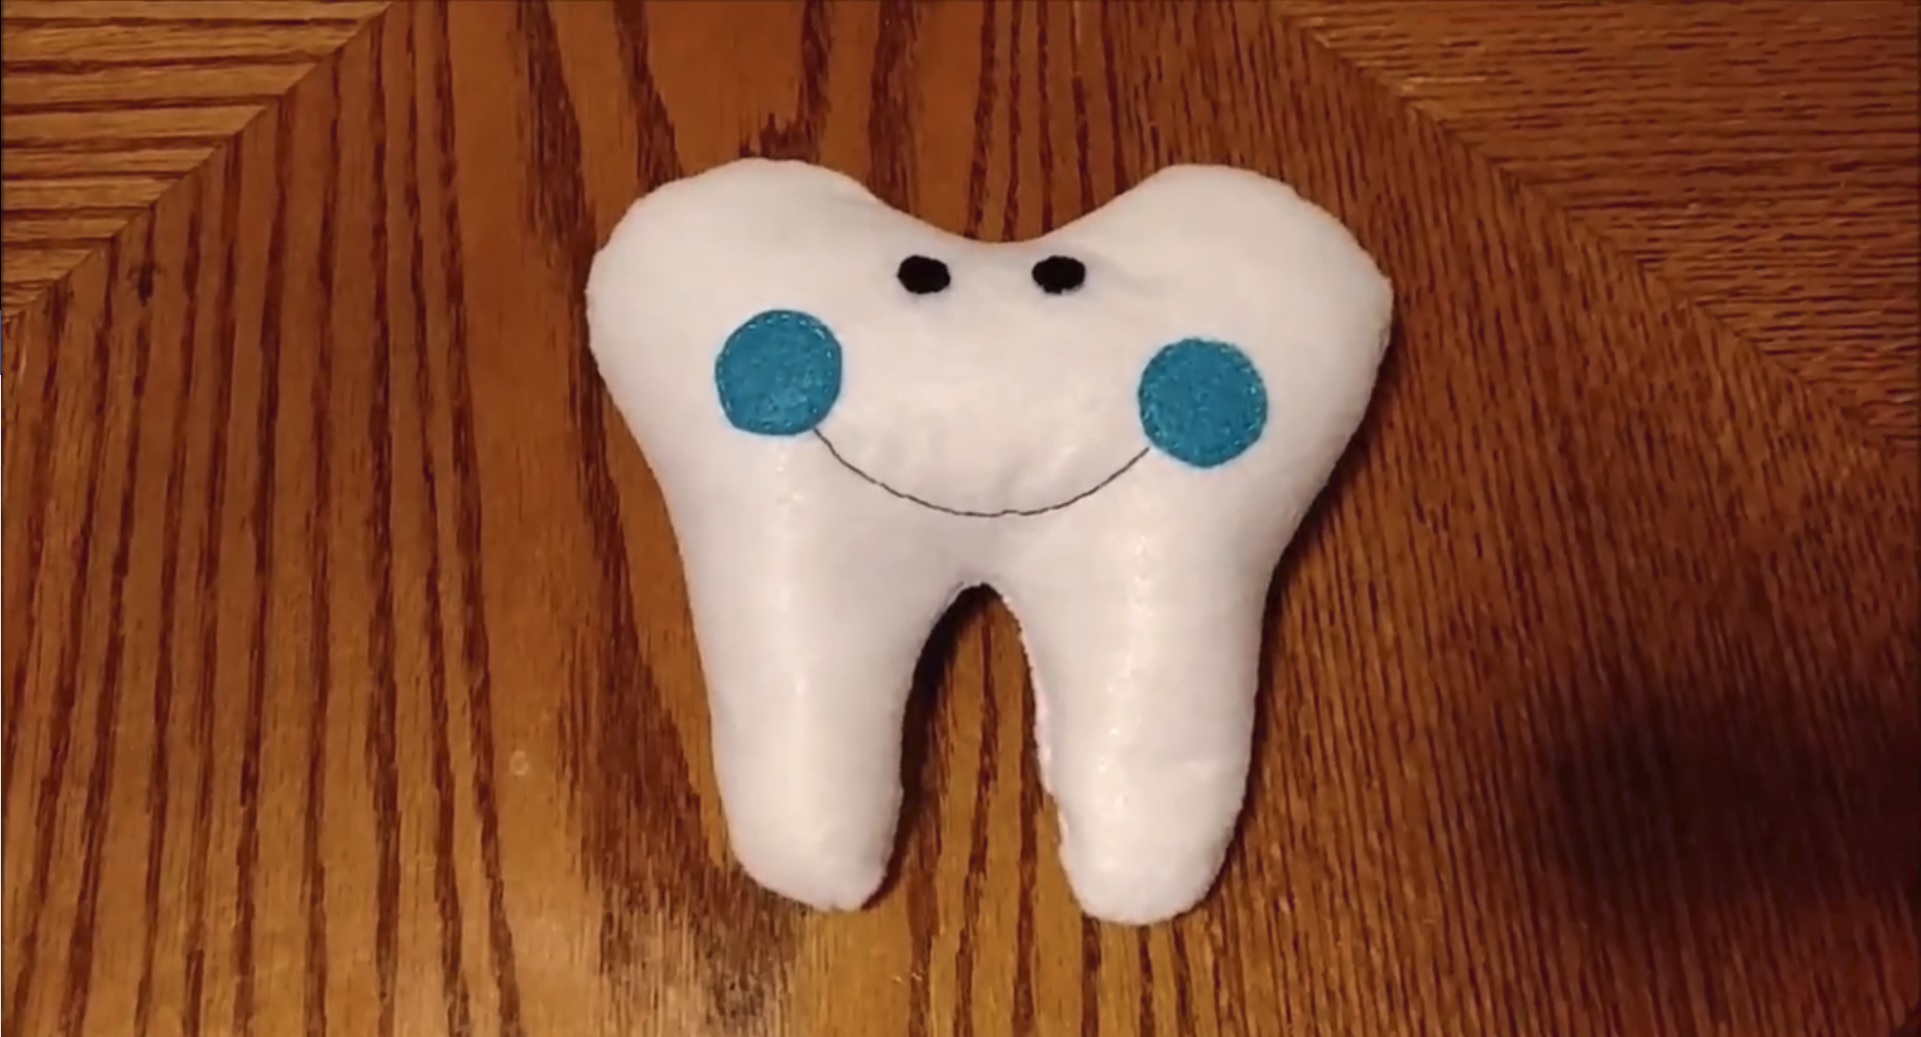
A whimsical and easy to make sewing project that is guaranteed to put a smile on the little one’s face. For this project, you will need white and colored felt, paper, and some cotton filler.
Step 1: Cut and pin tooth stencil to white felt then cut out the shape.
Step 2: Cut shapes from the other colored felt for the tooth face and pouch.
Step 3: Sew the face pieces and pouch to the top sides of felt, leave the top of pouch open.
Step 4: Place the tooth shapes together with tops facing each other, pin together.
Step 5: Sew along the edges, leaving a hole at the bottom, stuff inside with cotton filler.
Step 6: Turn pillow inside out and sew the hole closed.
3. Stuffed Animal Sleeping Bags
Here is how you can make sleeping bags for stuffed animals. The materials that you need are scrap material and batting. Stuffed animals are optional for this project, but what parent could say no to his child when it comes to buying snuggly toys.
Step 1: Cut pieces of material to the desired size (see website for example), then stack the material with same size batting on top.
Step 2: Pin the material and batting together along the edges, sew the long edges and one short edge.
Step 3: Turn the stack inside out, the open short edge is the top of the sleeping bag.
Step 4: Fold the bottom edge ¾ the way up or where it is about 3 inches from the top, then stitch both sides to close the bag.
Step 5: Fold edges at the top of the back panel, iron creases, and then stitch to join them together, trim any extra material if needed.
4. Bedside Organizer
This bedside organizer is perfect for your child’s bedroom. You will need the following: fabric, double-fold seam binding, non-skid rug pad or rubber drawer liner.
Step 1: Cut the fabric to the desired size (see website for exact dimensions) then fold it lengthwise.
Step 2: Sew the seam on the short side, turn the fabric inside out and lay it flat.
Step 3: Press or iron the folded ends, place binding along the edge of one of the ends.
Step 4: Fold bound part up about 8” to make a pocket, trim bottom corners, making them round.
Step 5: Cut 9” piece of binding and place one edge under pocket edge, stitch vertically to form the second pocket, trim any excess. Use seam binding to finish long ends.
Step 6: Stack remaining binding, fabric and non-skid liner and the top edge of organizer, stitch together.
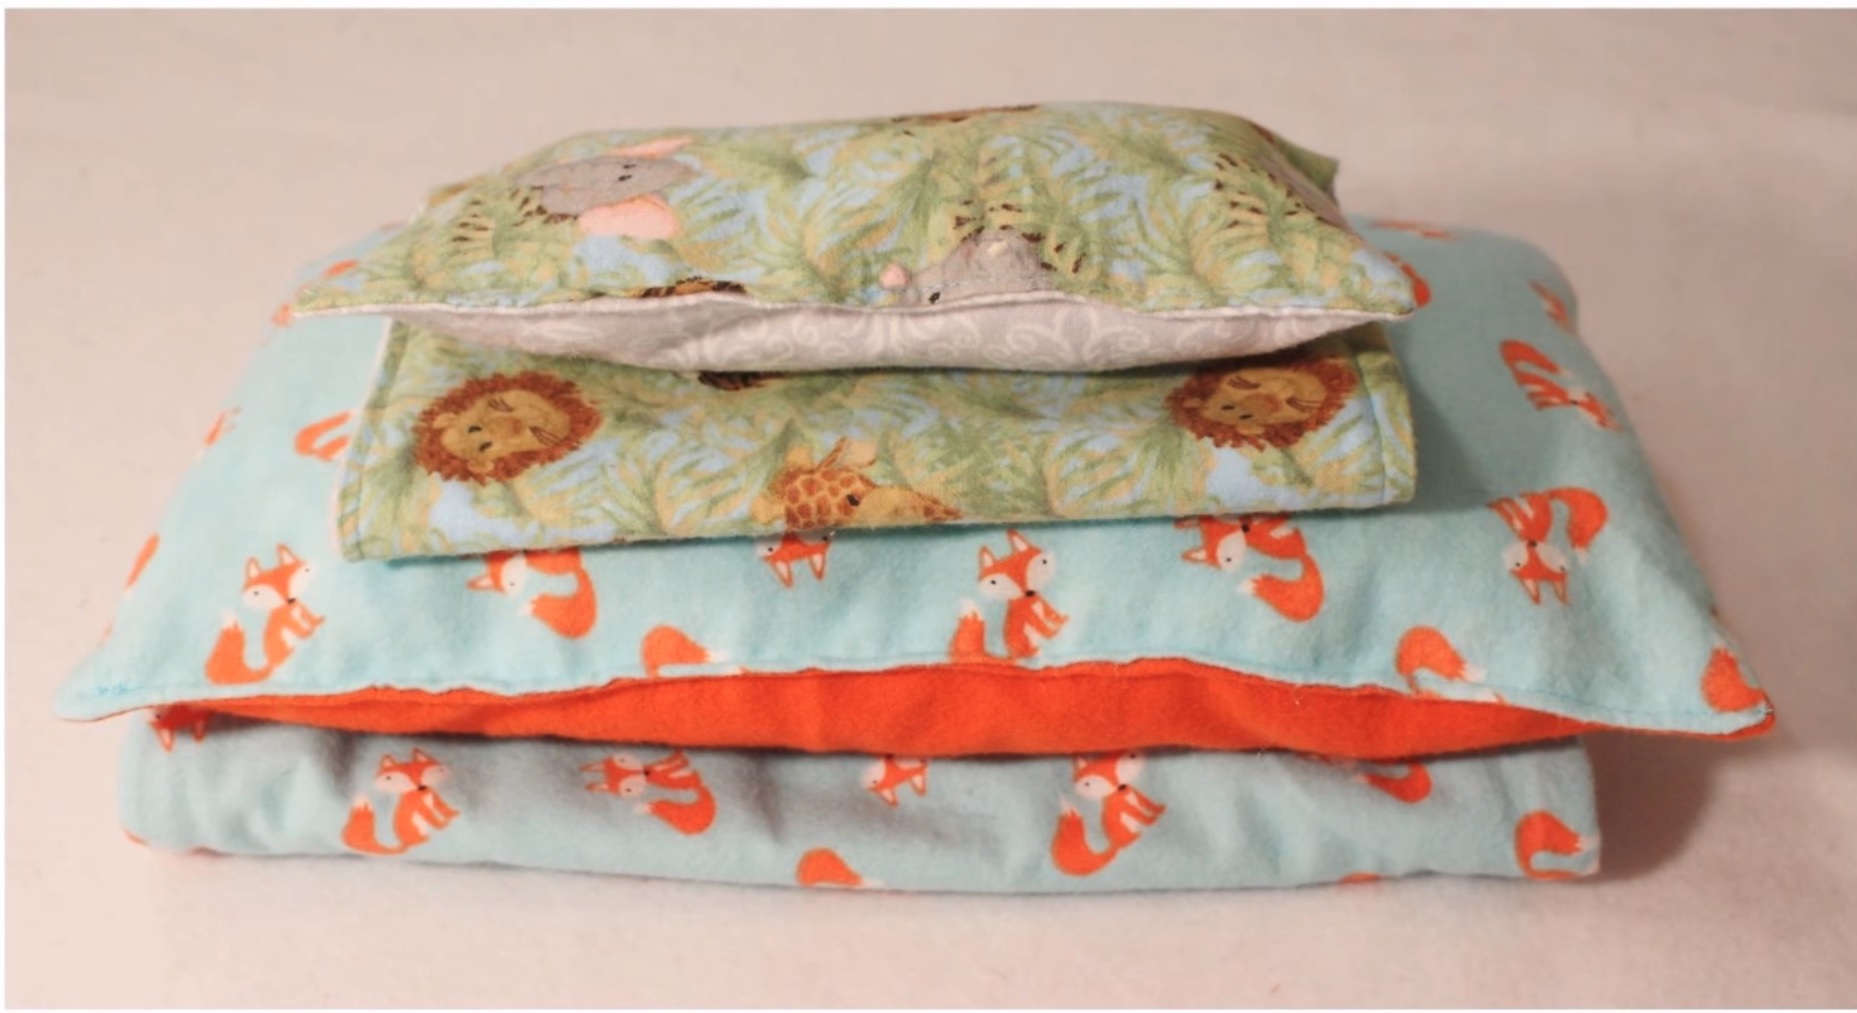
5. Pillow Bed
The final project should be a great comfy touch for any room. It’s a big sewing project but well worth your time. You need flannel and four pillows.
Step 1: Cut flannel to fit the dimensions specified in the tutorial, place together and sew the short sides and one long side.
Step 2: Trim points off the sewn corners, fold long unsewn side over and pin twice.
Step 3: Sew the seam along the edge but don’t sew pieces together, turn right side out.
Step 4: From short end, mark parallel lines down to another short end, sew along each line.
Step 5: Stuff pillows into each pocket.
Conclusion
Like with any kind of project, don’t fret about being perfect the first time. It takes practice. Just take your time and have fun. Soon
